Tapestry needle for weaving in ends
How to Crochet the Basketweave Stitch
Foundation
Begin by making a chain in multiples of 8, then add 4 extra chains.
Row 1 – Foundation Row
In the 4th chain from the hook (the CH 3 counts as your first DC), work a double crochet (DC).
Make 1 DC in each stitch across the row.
CH 3 and turn your work.
Row 2 – Beginning the Basketweave Pattern
Work FPDC (Front Post Double Crochet) around the post of the next 4 DCs.
Work BPDC (Back Post Double Crochet) around the next 4 DCs.
Continue alternating: 4 FPDC → 4 BPDC until the end of the row.
In the last stitch, make a regular DC into the top of the turning chain.
CH 3 and turn.
Row 3
Again, work 4 FPDC, then 4 BPDC.
Continue alternating groups of 4.
Finish with a DC at the top of the turning chain.
CH 3 and turn.
Rows 4–5 – Repeat
Repeat the same sequence for 2 more rows (or until the block appears square).
If using chunky yarn, the square may form after just 2 rows instead of 3.
Row 6 – Switching the Blocks
To create the woven basket effect, you will now reverse the stitches:
After chaining 3 and turning, start with BPDC around the next 4 stitches.
Then work FPDC around the next 4 stitches.
Continue alternating in sets of four.
Always finish with a DC into the top of the turning chain.
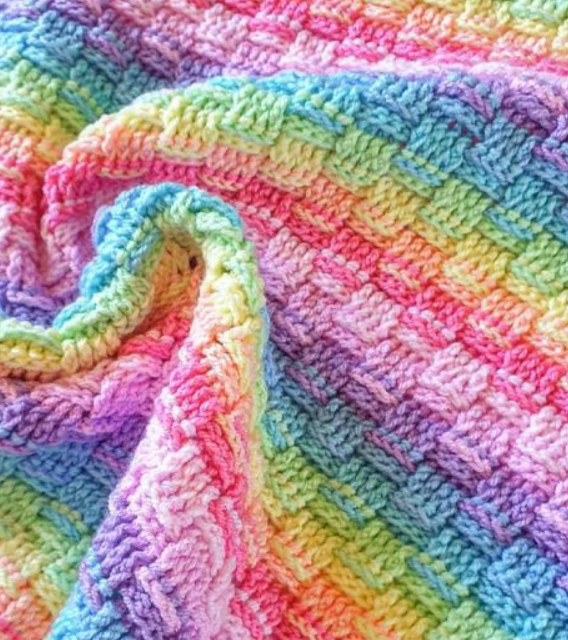
Simply continue alternating the sets of FPDC and BPDC every few rows to keep the blocks shifting. This is what creates the iconic woven texture that the Basketweave stitch is famous for.

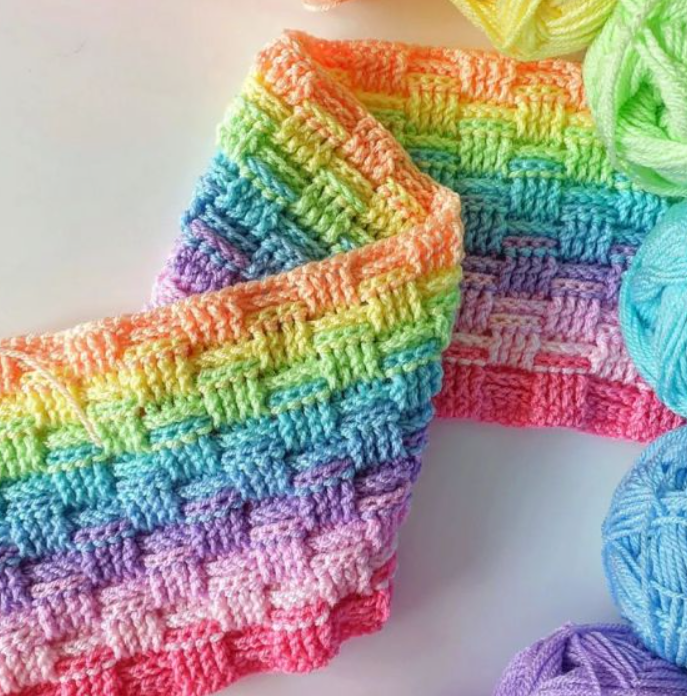
Basketweave Crochet Stitch
The result is a thick, cozy, and beautifully textured fabric with a bold, structured look—perfect for warm blankets, stylish home décor, and durable accessories.