Hen parties are an occasion of joy, celebration, and cherished memories. As the anticipation of a special event builds, adding personal touches to the decor can truly elevate the atmosphere. One delightful way to infuse a touch of warmth and personalization into the festivities is by creating a stunning Hen Party Table Topper through quilting a timeless craft that adds both beauty and sentimentality to any occasion.
Choose fabrics that reflect the theme or color scheme of the event. Opt for soft, feminine hues or vibrant, celebratory tones. Cotton fabric works wonderfully for table toppers due to its durability and ease of handling.
Brainstorm and sketch your table topper design. Consider incorporating elements like hearts, flowers, champagne glasses, or personalized initials to reflect the occasion. Simple square or circular designs work well for table toppers.
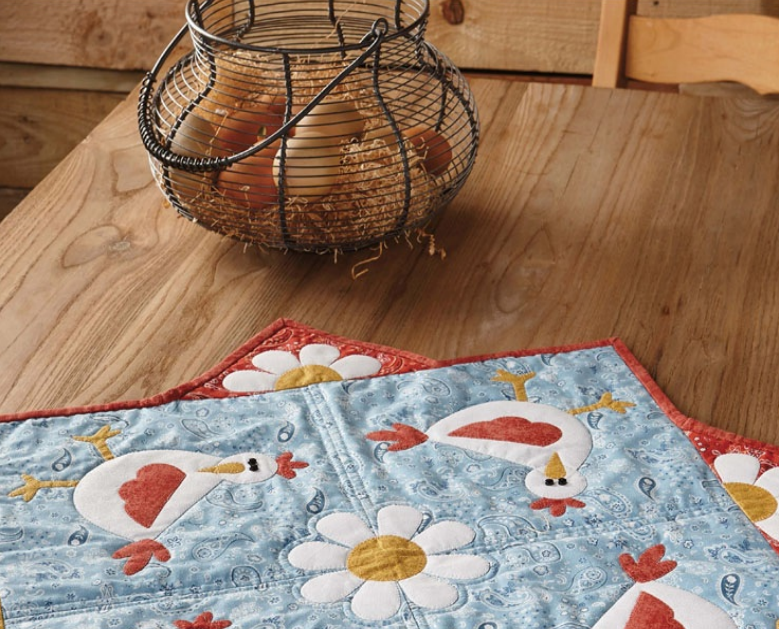
Hen Party Table Topper Pattern
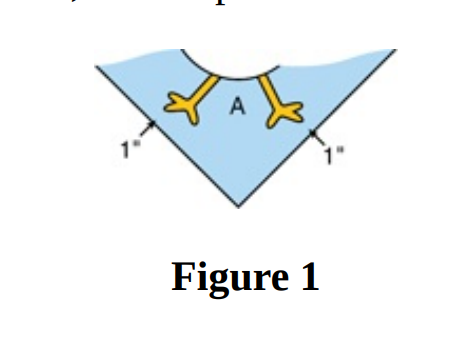

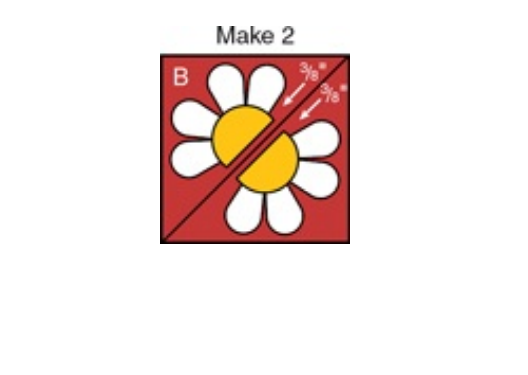
Figure 3
Apply a machine blanket stitch around the appliqués using matching thread for consistency.
Cut each appliquéd square along the drawn line to create four half-flower triangles. Note: Completing the appliqué before cutting helps prevent the bias edge of the triangles from stretching while handling during the appliqué process.
Referencing Figure 4, center and stitch a half-flower triangle to each side of the center square; press the seam toward the triangle. Repeat this process, attaching a triangle to each side of the center, to finalize the top.

Figure 4
Assemble and base the table topper, adhering to Quilting Basics. Quilt as preferred. For instance, the model topper is stitched around each appliqué shape and echoed on each seam line.
Prepare binding strips according to Quilting Basics. Before applying the binding, reinforce the angle on either side of the triangles by stitching just inside the seam allowance. Clip these angles nearly to the stitching, as illustrated in Figure 5. When stitching the binding, straighten the edge when reaching the clipped angle instead of pausing and pivoting. While securing the binding on the back of the topper, miter and fold the angle with a slight tuck.


