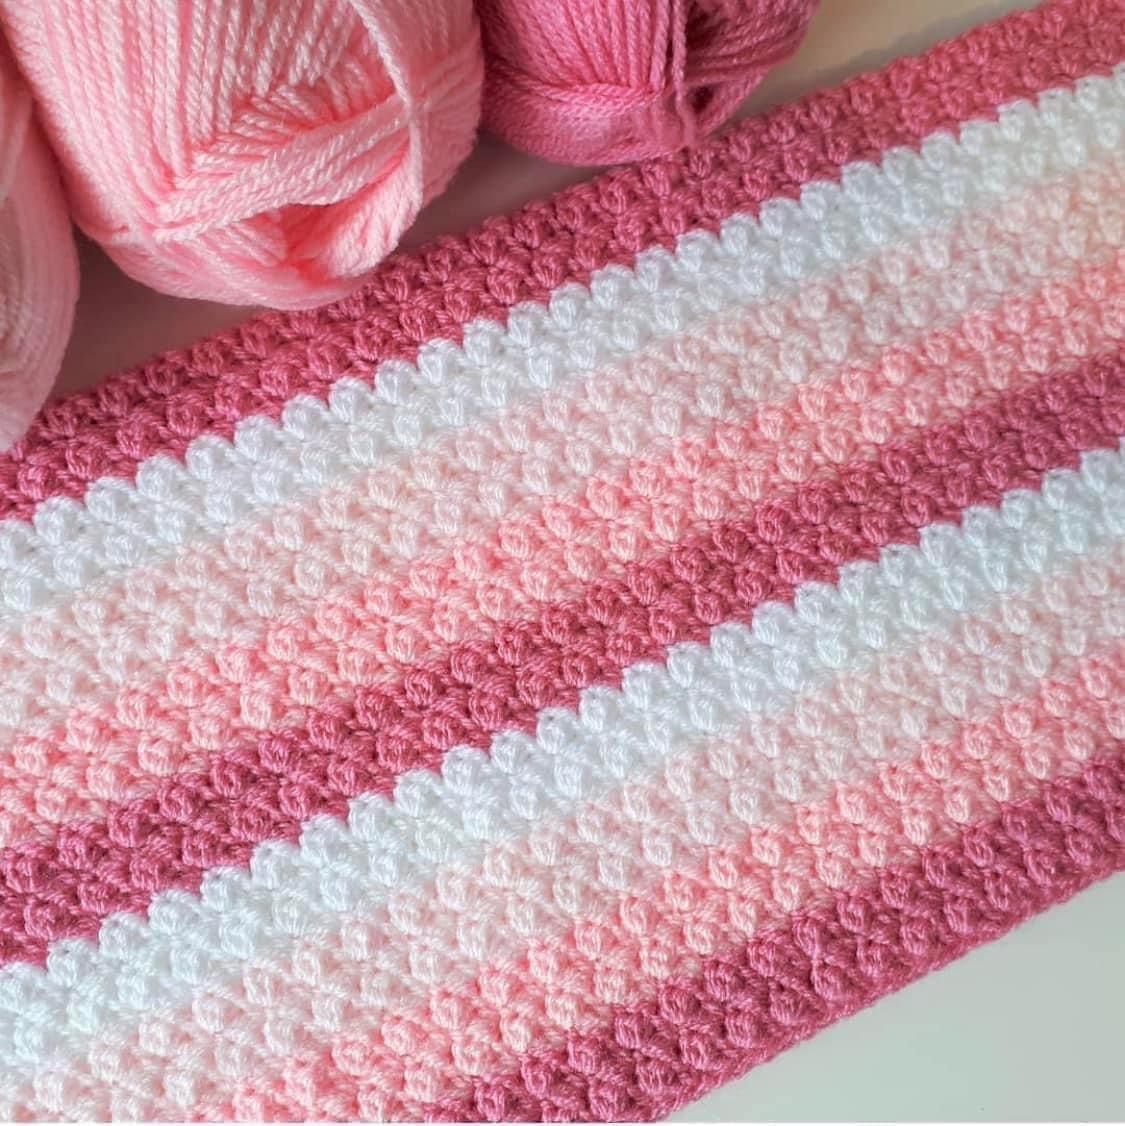
ROW 3: CH 3, 3 DC in the CH 2 space between the last DC3TOG and 2 DC of the previous row, *3 DC into next CH 2 space, repeat from * ending with 1 DC in top of the turning chain.
ROW 4: CH 4, (counts as 1 DC and 1 CH), *DC3TOG in top of each 3 DC of previous row, CH 2, repeat from * across and end with CH 1, DC into top of CH 3 turning chain, pulling through with new color.
ROW 5: CH 3, 1 DC into DC (the base of the ch 3, the top of the last DC you made), *3 DC in next CH 2 space, repeat from * across ending with 2 DC into the top of 3rd chain of the turning chain.
ROW 6: CH 3, 1 DC into the next DC, *CH 2, DC3TOG, repeat from * ending with CH 2, DC into next DC, DC into 3rd of ch 3 pulling through with new color just before you finish the stitch.
Here are the color changes:
6 rows Plum Wine, 6 rows White, 6 rows Light Country Peach, 6 rows Soft Pink, 6 rows Pumpkin, 6 rows Soft Pink, 6 rows Light Country Peach, 6 rows White, 6 rows Plum Wine
Border
Before you start the border, please take the time to weave in all the ends. I do this by working them in and around the work with the tapestry needle for at least 6 inches of the tail. I like them to be secure. I do not crochet over the ends anymore as a way of saving time. They do not stay secure.
ROUND 1: With the white color, start in a bottom right-hand corner that will have you work up one side. Pull up a loop and SC in that space. (Around a DC post actually.) Work 2 SC around each DC post running up the side of the blanket. Try and do this as evenly as possible. CH 1 and turn.
ROUND 2: SC in the first chain space, *CH 3, SK two spaces, SC in the next. Repeat from * to the end of the row. (It’s totally okay that when you get to the end of the row you might only skip over one space or have an extra at the very last. I’m not a mathie and couldn’t bring myself to figure it out exactly.)
ROUND 3: CH 1 and turn. SL ST (slip stitch) into the CH 3 space. *CH 5, DC5TOG Cluster in the 4th chain from the hook, DC5TOG Cluster in the 5th chain from the hook. SL ST the posts together. SL ST into the same CH 3 space, SL ST into the next CH space. Repeat from * to the end of the row
Tie off and weave in the ends.


